
Solder paste smearing occurs when paste spreads beyond the intended deposit during stencil printing. It can leave paste on the solder mask or between adjacent pads, increasing the risk of bridging and rework.
The cause is not always the printer itself. A dirty stencil, poor board support, misalignment, unsuitable squeegee technique, or changes in paste condition can all affect the result.
This guide explains what to inspect first and how to narrow down the cause before restarting production.
What Does Solder Paste Smearing Look Like?
A smeared print may have blurred deposit edges, streaks, or paste outside the intended pad area. In more severe cases, paste may connect adjacent deposits before reflow.
Note where and when the smearing appears. A defect confined to one area of the board may suggest a local support or contact issue. Smearing that develops after several prints may point to paste accumulating beneath the stencil.
Inspect the printed board promptly and hold affected boards for review under the site’s quality procedure. Do not assume that an unclear deposit will correct itself during reflow.
How to Troubleshoot Solder Paste Smearing
1) Check the Stencil Underside
Stop printing and inspect the underside of the stencil for paste or flux residue, particularly around the affected apertures. Residue can transfer to subsequent boards and make smearing worse.
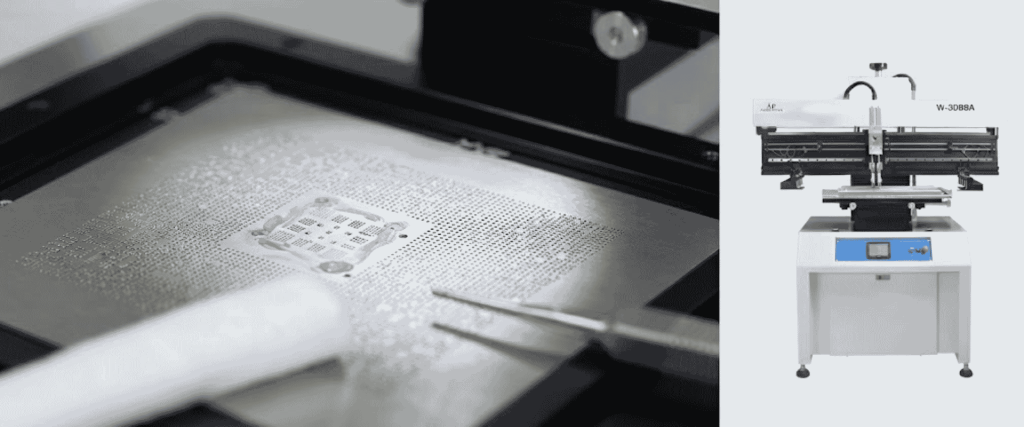
Clean the stencil using a method approved for the stencil, paste, and equipment. Check that the stencil is dry before resuming. Then inspect the next print to see whether the defect returns.
If cleaning helps only briefly, investigate why paste is accumulating rather than relying on cleaning alone.
2) Inspect PCB Support and Stencil Contact
The PCB should remain stable and supported during the print stroke. A board that flexes can lose close contact with the stencil, allowing paste to spread beneath it.
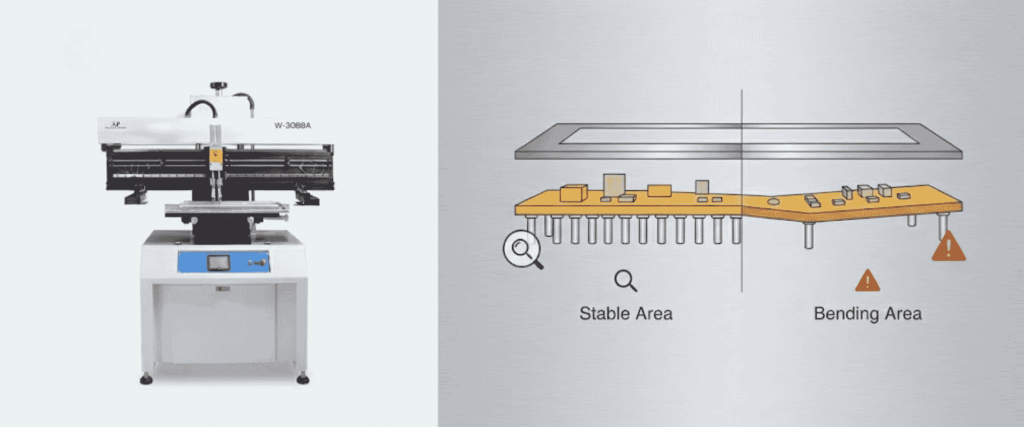
Check the affected area for uneven support, board movement, or visible warpage. For boards with components already mounted on the opposite side, confirm that the support arrangement accommodates those components without damaging them.
If smearing repeatedly appears in the same location, compare support in that area with support elsewhere on the board.
3) Verify Stencil Alignment
Check that the stencil apertures align with the corresponding PCB pads across the print area. Inspect more than one location, especially on larger boards or panels.
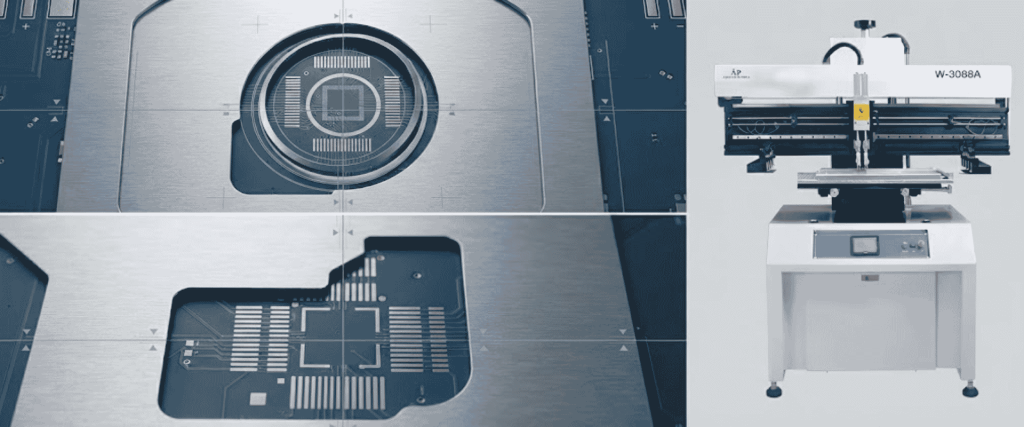
After any adjustment, print and inspect a representative board before continuing. If the deposits are consistently offset in the same direction, review the positioning and alignment setup before changing the paste or squeegee.
4) Examine the Squeegee
Inspect the blade edge for damage, residue, or uneven wear. A damaged blade may apply pressure unevenly.
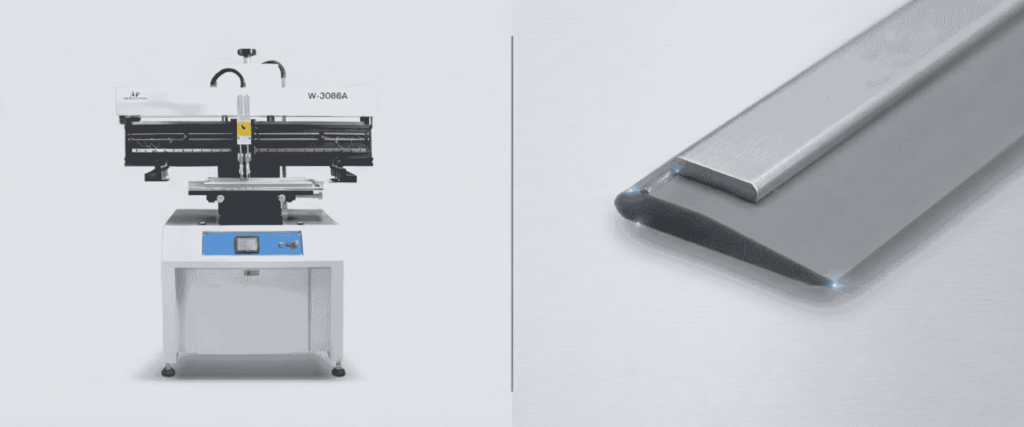
Review the print stroke and pressure using the equipment’s instructions. Too much pressure can contribute to paste bleeding beneath the stencil; increasing pressure is not automatically a solution. Adjust only settings that the machine permits, and evaluate the result after each change.
5) Check Solder Paste Condition
Review the paste’s storage history, expiration date, preparation instructions, and permitted working time. Temperature changes and paste condition can affect print quality during a production run.
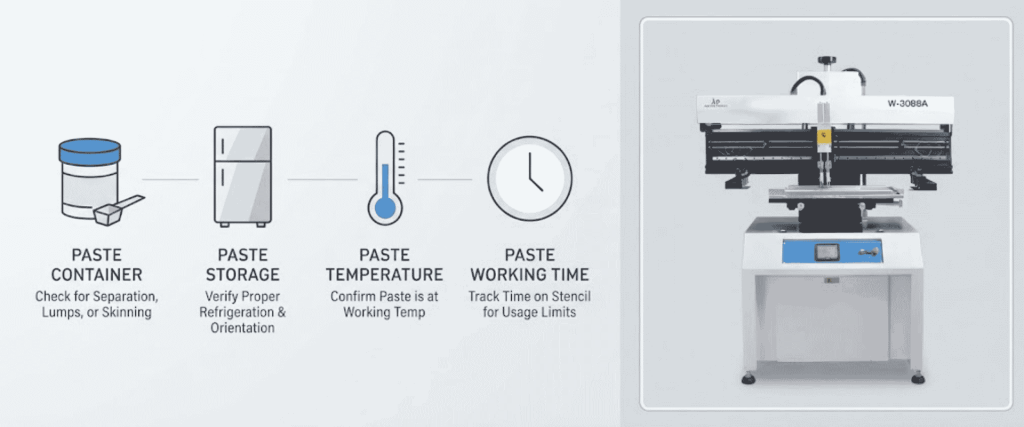
Follow the paste supplier’s instructions for bringing it to the required working condition. Avoid mixing different pastes or adding material to an existing batch unless the supplier’s procedure permits it.
6) Observe Board and Stencil Separation
If the print looks aligned but deposits become distorted as the board separates from the stencil, check whether the board is held securely and whether separation is consistent.
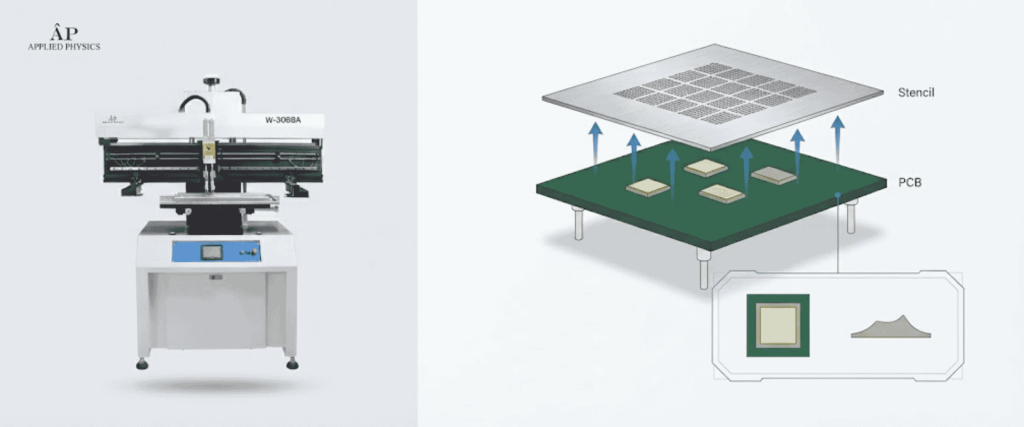
Follow the printer instructions for separation. Where the machine has an adjustable setting, change it only within the approved procedure and inspect the result. Separation behavior can interact with the stencil design and paste used.
Common Causes of Solder Paste Smearing
| Possible cause | How it may contribute | What to check |
|---|---|---|
| Paste under the stencil | Residue can transfer to the next board | Stencil underside and cleaning effectiveness |
| Poor board support | Board flex can reduce contact with the stencil | Support positions and board flatness |
| Stencil misalignment | Apertures may not line up with PCB pads | Alignment across the print area |
| Squeegee condition or technique | Uneven or excessive pressure can affect the print | Blade edge and approved settings |
| Unsuitable paste condition | Changes in paste properties can affect print definition | Storage, handling, and working time |
| Poor stencil separation | Movement during separation can disturb deposits | Board holding and separation method |
These are possible causes, not a diagnosis. Smearing can result from more than one condition at the same time.
What to Check on the Semi-Automatic Print Machine
The product page lists a 250 × 400 mm print size and worktable positioning adjustments. Before using the machine, confirm that the PCB, stencil frame, and support arrangement are compatible with the intended setup.
The page title describes the machine as semi-automatic, while its specification table lists manual operation. Confirm the operating method and available adjustments with the supplier before relying on specific setup instructions.
How to Prevent Smearing from Returning
Once the cause has been identified, check several consecutive prints—not just the first board after cleaning or adjustment.
- Inspect the stencil and squeegee before production.
- Confirm board support and alignment for each new setup.
- Follow defined paste handling and stencil-cleaning procedures.
- Record when and where defects appear.
- Check prints after cleaning, paste changes, or setup adjustments.
Where solder paste inspection is available, use its measurements alongside visual checks and the site’s acceptance criteria. The appropriate inspection method depends on the board and production requirements.
Conclusion
Solder paste smearing can result from residue beneath the stencil, poor board support, misalignment, squeegee condition, paste changes, or inconsistent separation.
Start by examining the affected print and the stencil underside. Then check support, alignment, and the remaining process conditions one at a time.
Inspecting several prints after a correction helps confirm that the improvement lasts.
Frequently Asked Questions (FAQs)
1. Why is solder paste smearing under the stencil?
Paste may spread beneath the stencil if contact with the PCB is poor, the board flexes, alignment is incorrect, or residue has accumulated. Inspect each condition before choosing a correction.
2. Can a dirty stencil cause solder paste smearing?
Yes. Paste or flux on the stencil underside can transfer to the next board. Clean it using an approved method and confirm that it is dry before printing.
3. Can too much squeegee pressure cause smearing?
Excessive pressure can contribute to paste bleeding beneath the stencil. Check the blade and follow the printer’s approved setup procedure.