Last Updated: July 20, 2026
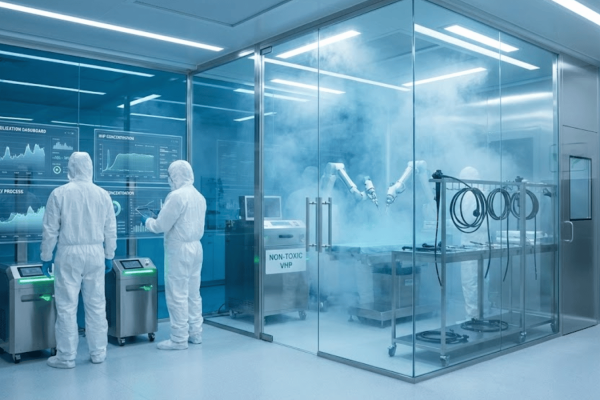
Understanding how to conduct smoke studies is essential for validating cleanroom environments and ensuring compliance with pharmaceutical and semiconductor manufacturing standards. Smoke studies, also known as airflow visualization studies, provide visual confirmation that unidirectional airflow patterns meet regulatory requirements and protect critical manufacturing processes. At Applied Physics, we’ve guided hundreds of facilities through smoke testing protocols that reveal airflow disruptions, dead zones, and turbulence that standard particle counting cannot detect. Below, we’ll show you exactly how to conduct smoke studies effectively, from planning through documentation.
Smoke studies are visual demonstrations of airflow patterns within cleanrooms and controlled environments. Rather than relying solely on particle counters or air velocity measurements, smoke visualization provides immediate, observable proof that air is moving as designed through critical zones. This method has become indispensable for validating aseptic processing environments, semiconductor fabs, and any facility where laminar flow or unidirectional airflow is essential to product safety.
The reason smoke studies matter goes beyond compliance checkboxes. They reveal what instruments alone cannot: how air actually behaves when obstacles, personnel, and equipment are present. A particle counter might show acceptable results, but smoke will expose a dead zone behind a workbench where contamination could accumulate. Research from USP standards for pharmaceutical compounding emphasizes that visual airflow verification is a critical component of sterility assurance in controlled environments.
Regulatory agencies expect documented evidence of airflow validation. When an FDA inspector asks to see proof that your cleanroom’s first air reaches the critical zone, a video of smoke studies provides undeniable documentation. The same applies to ISO 14644 audits and USP 797 compliance inspections. Without smoke studies, you’re relying on point-in-time velocity measurements that don’t account for real-world conditions.
USP 797 governs pharmaceutical compounding in sterile environments and mandates that facilities demonstrate unidirectional airflow in critical zones. The standard does not explicitly require smoke studies, but it does require validation that first air reaches the work surface without disruption. Smoke studies are the most practical way to demonstrate this visually and document it for regulatory review.
ISO 14644 establishes cleanroom classification standards and includes requirements for periodic airflow verification. Facilities classified as ISO Class 5 (used for aseptic processing) must prove that airflow patterns remain consistent and that recovery time after disruption meets specifications. Smoke studies serve as a non-destructive, repeatable validation method that doesn’t require shutting down production.
Both standards require documented evidence of airflow validation at installation, after any modification to the space, and periodically during operation. A single smoke study video can satisfy years of compliance documentation if properly archived and referenced in your environmental monitoring reports.
Unidirectional airflow means air flows in one direction, typically downward in a cleanroom or horizontally in a biosafety cabinet, at a consistent velocity. This continuous, parallel flow of filtered air from HEPA filters prevents turbulent eddies where particles can become trapped and circulate back to the work surface.
The principle relies on maintaining sufficient air velocity (typically 0.3 to 0.5 meters per second in pharmaceutical cleanrooms) across the entire critical work zone. When velocity drops below this threshold, or when obstacles disrupt the flow pattern, laminar flow breaks down and turbulence develops. Smoke visualization immediately reveals these failures because smoke will swirl, eddy, and move counter to the intended direction.
Dead zones are areas where air velocity drops to near-zero or reverses direction. These are the most dangerous conditions in a cleanroom because particles can settle and remain undisturbed. Smoke will hang motionless or drift backward in dead zones, making them impossible to miss during a study.
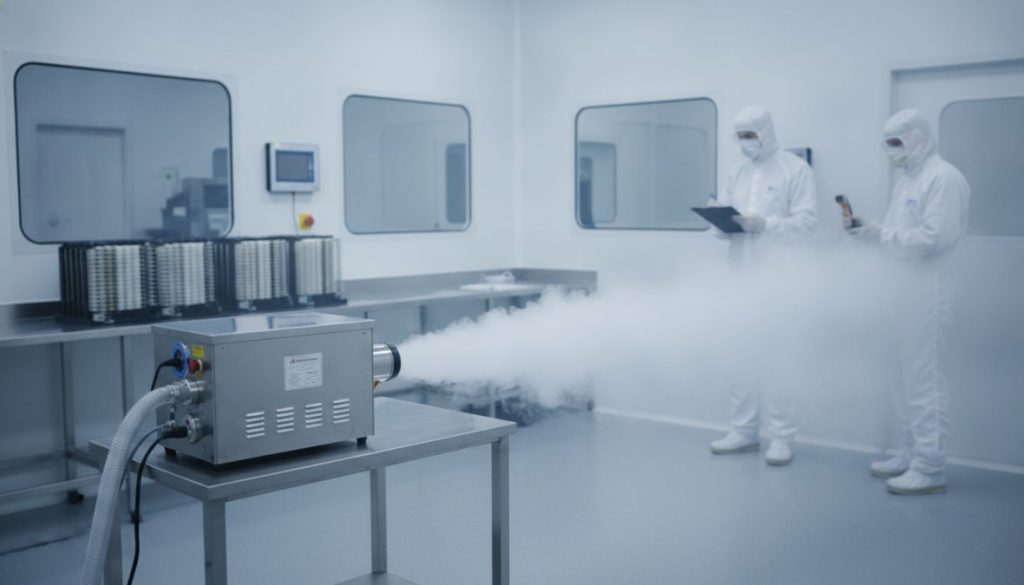
The smoke generator is the core tool for any airflow visualization study. Two primary types exist: cold aerosol generators and heated vapor generators. Cold aerosol generators, like the [Aerosol Generator-Cold Type BAG-4B](https://appliedphysicsusa.com/products/aerosol-generator-cold-type-bag-4b/), use a Laskin nozzle to create a fine aerosol mist from a liquid solution. These generators produce neutral, non-toxic aerosols suitable for pharmaceutical and semiconductor environments.
Heated vapor generators create visible vapor by heating a liquid (typically mineral oil or water-based solutions). These tend to be faster and produce denser smoke, but the heat can affect airflow patterns in sensitive areas. For most pharmaceutical cleanrooms, cold aerosol generators are preferred because they introduce minimal heat and produce aerosols that behave more like actual contamination particles.
The choice of vapor source matters. Mineral oil-based aerosols are visible but can leave residue on surfaces. Water-based solutions are cleaner but may not produce as dense a plume. Some facilities use food-grade glycerin solutions as a compromise. Whichever you choose, ensure it’s compatible with your cleanroom materials and won’t damage HEPA filters or contaminate product.
Video documentation is non-negotiable for smoke studies. A standard HD or 4K camera (smartphone cameras work adequately) is sufficient, but lighting is critical. Poor lighting makes smoke invisible on video, defeating the purpose of documentation.
Backlighting is the most effective technique: position a bright light source behind the smoke plume so it appears bright against a darker background. This creates contrast that makes even thin smoke visible on video. Side lighting can also work, but it’s less effective than backlighting for revealing subtle airflow patterns.
Tripod-mounted cameras are essential because you need both hands free to operate the smoke generator and move it through the space. A stable, steady video is also easier for regulators to interpret during audits. Plan to record at least 30-60 seconds of continuous smoke release in each critical area to capture the full airflow pattern and any turbulence.
Before releasing any smoke, define your study scope. Which areas are critical for your operation? For a pharmaceutical compounding cleanroom, the focus is the ISO Class 5 hood and surrounding work surface. For a semiconductor fab, you might need to study multiple tool locations and pass-through areas.
Document your baseline conditions: room temperature, HEPA filter age, and any recent maintenance. Conduct the study under normal operating conditions, not in a pristine state with no equipment present. Real-world conditions reveal whether airflow remains adequate when the space is actually in use.
Prepare a written study plan that includes the specific locations where you’ll release smoke, the direction you expect airflow to move, and acceptance criteria (smoke should move consistently toward exhaust, no backflow, no visible dead zones). This plan becomes part of your compliance documentation.
Assemble your smoke generator according to manufacturer instructions. For the [Aerosol Generator-Cold Type BAG-6D](https://appliedphysicsusa.com/products/aerosol-generator-cold-type-bag-6d/), this typically involves filling the reservoir with the appropriate aerosol solution and allowing the nozzle to stabilize before use.
Test your lighting and camera setup outside the cleanroom first. Record a short video of smoke in an open space to verify that the smoke is visible and the lighting creates adequate contrast. Adjust your light position if smoke appears as a faint gray blur rather than a bright, defined plume.
Position your tripod and camera to capture the critical work zone from multiple angles if possible. Plan to record from above the work surface, from the side, and from the direction of airflow approach. Multiple angles provide better documentation and reveal airflow patterns that might be missed from a single perspective.
Ensure all personnel are briefed on the study procedure. Designate one person to operate the smoke generator and another to control the camera. This coordination prevents fumbling during the study and ensures consistent, high-quality video documentation.
Release smoke slowly and steadily from the smoke generator, starting at the point where first air enters the cleanroom (typically near the HEPA filter or diffuser). Move the smoke source gradually through the critical work zone, pausing for 5-10 seconds in each location to observe how the plume behaves.
Watch for these key observations:
Common problem areas include corners, behind equipment, under work surfaces, and near doorways. Spend extra time releasing smoke in these zones because dead zones frequently develop in these locations.
If you observe unexpected airflow patterns, don’t stop the study, keep recording. Deviation from expected behavior is exactly what smoke studies are designed to reveal. Document the location and behavior for your analysis phase.
Review your video immediately after the study. Look for clear evidence of unidirectional airflow and note any areas where airflow behavior was unexpected or concerning. Create a written summary that includes the date, time, ambient conditions, equipment used, and observations.
If smoke moved consistently in the expected direction with no visible turbulence or dead zones, your cleanroom passed the study. Document this as evidence of compliance. If you observed problems, note their specific locations and severity. Minor issues (slight eddy in a corner) may not require corrective action, but significant dead zones or backflow must be addressed.
Attach your video to the study report. Many facilities store these videos in a compliance folder that auditors can review during inspections. The video is more convincing than any written description of airflow patterns.
Consistency matters when conducting smoke studies over time. Use the same smoke generator, the same aerosol solution, and the same camera setup each time you study a space. This consistency makes it easier to compare results year-to-year and detect changes in airflow patterns.
Conduct smoke studies after HVAC maintenance, filter changes, or any modification to the cleanroom layout. These events can disrupt airflow patterns that were previously acceptable. A smoke study after maintenance provides baseline documentation that protects you if airflow problems develop later.
Record the ambient conditions during each study: room temperature, humidity, and HVAC filter pressure drop if available. Temperature changes affect air density and can subtly shift airflow patterns. Documenting these variables helps explain any year-to-year variations in airflow behavior.
Train all personnel who conduct smoke studies on the proper technique. Inconsistent release methods (too fast, too slow, from the wrong location) produce inconsistent results. A brief training session ensures that whoever performs the study follows the same procedure each time.
A compounding pharmacy conducted smoke studies during their initial USP 797 compliance validation and discovered a significant dead zone behind their workspace counter. Smoke released near the counter’s underside moved toward the exhaust as expected, but smoke released at the top of the counter lingered for several seconds before being drawn away. This indicated that air velocity was insufficient in that zone.
The facility adjusted their HEPA filter diffuser to increase velocity in that area, then repeated the smoke study. The second study showed consistent, rapid airflow across the entire counter surface. This corrective action, documented with before-and-after smoke study videos, became the centerpiece of their compliance file for regulatory inspections.
A semiconductor facility used smoke studies to validate airflow patterns in their tool installation areas before bringing new equipment online. By releasing smoke at multiple locations around the tool and observing how it dispersed, engineers confirmed that the cleanroom’s unidirectional airflow remained intact around the new installation. The smoke studies revealed that one corner of the tool created a minor eddy, which was corrected by repositioning an air return vent.
These smoke studies, repeated quarterly, provided ongoing documentation that airflow remained within specification. When the facility later upgraded their HVAC system, the baseline smoke study videos from previous years served as the benchmark for validating the new system’s performance.
Smoke testing and sanity testing are sometimes confused, but they serve different purposes. Smoke testing is a visual validation of airflow patterns, you’re observing how air moves through space. Sanity testing, in contrast, is a quick verification that a system is functioning at all, without detailed analysis of performance.
A sanity test might confirm that your HEPA filter is producing downward airflow. A smoke study shows whether that airflow remains unidirectional throughout the critical zone, or whether it breaks down in certain areas. Smoke testing is far more detailed and informative, which is why it’s required for regulatory compliance.
Sanity testing is useful for daily operational checks, a quick visual confirmation that airflow appears normal. Smoke studies are reserved for validation events: initial qualification, after maintenance, after modifications, or during periodic compliance verification. The investment in a proper smoke study is justified because it provides documented evidence that regulators require.
A frequent mistake is releasing smoke too quickly or from too high above the work surface. When smoke is released with force, it creates artificial turbulence that doesn’t reflect real airflow patterns. Release smoke slowly and from the point where you expect air to originate (the HEPA filter or inlet).
Another common error is poor lighting that makes smoke invisible on video. If your recorded video shows no visible smoke despite releasing it in the room, the problem is almost certainly lighting, not airflow. Add a bright backlight and try again.
Some facilities release smoke only once in each location. This produces a single snapshot of airflow behavior. Better practice is to release smoke multiple times in the same location and observe whether the behavior is consistent. Inconsistent smoke behavior suggests that room conditions (temperature, door openings, personnel movement) are affecting airflow.
If smoke moves backward or swirls extensively in your critical zone, your cleanroom is not maintaining unidirectional airflow. This is a serious compliance issue that requires immediate investigation. Check HEPA filter condition, verify that all air returns are unobstructed, and confirm that HVAC system pressurization is correct.
Acceptance criteria for smoke studies vary by application and regulatory standard, but the fundamental requirement is consistent, unidirectional airflow in critical zones. For pharmaceutical cleanrooms, smoke should move smoothly from the HEPA filter toward the exhaust with no visible backflow or dead zones.
Minor eddies in non-critical areas are generally acceptable. An eddy in a corner away from the work surface is less concerning than one directly over the product. Use professional judgment and document your reasoning if you accept a result that shows minor deviations.
Document your acceptance criteria in writing before conducting the study. This prevents post-hoc rationalization of marginal results. A written standard ensures consistency across multiple studies and provides auditors with clear evidence that your facility has defined expectations for airflow behavior.
Photograph or video-record any areas where airflow patterns are questionable. These images become part of your compliance file and demonstrate that you’ve thoroughly investigated the space. Regulators appreciate facilities that document not just passing results, but also the investigation process.
After completing your smoke study, allow adequate time for the cleanroom to recover before resuming normal operations. The aerosol particles from the smoke generator will eventually settle or be captured by HEPA filters, but this takes time, typically 15-30 minutes depending on the volume of smoke released and the cleanroom’s air exchange rate.
Some facilities conduct smoke studies in a dedicated test area or during scheduled downtime to avoid any risk of smoke contamination affecting product. This is the safest approach if your operation permits it. If you must conduct studies in an active production area, schedule them during periods of minimal product exposure.
After the study, inspect the cleanroom for any residue left by the smoke aerosol. Most water-based and glycerin-based aerosols leave minimal residue, but mineral oil-based smokes can leave visible film on surfaces. A quick wipe-down with appropriate cleanroom wipes removes any residue and ensures the space is ready for resumed operations.
Review your video and written observations while the study is fresh in your mind. Complete your documentation the same day, including photos of any problem areas and notes about corrective actions needed. Timely documentation ensures accuracy and prevents details from being forgotten.
| Phase | Key Activities | Documentation | Timeline |
|---|---|---|---|
| Planning | Define scope, write study plan, brief personnel | Written study plan | 1-2 days before |
| Setup | Assemble equipment, test lighting, position camera | Equipment checklist | Day of study |
| Execution | Release smoke, record video, observe patterns | Video recording | During study |
| Analysis | Review video, note observations, document results | Written report + video | Same day |
| Recovery | Allow cleanroom to settle, inspect for residue | Completion checklist | 30 min after study |
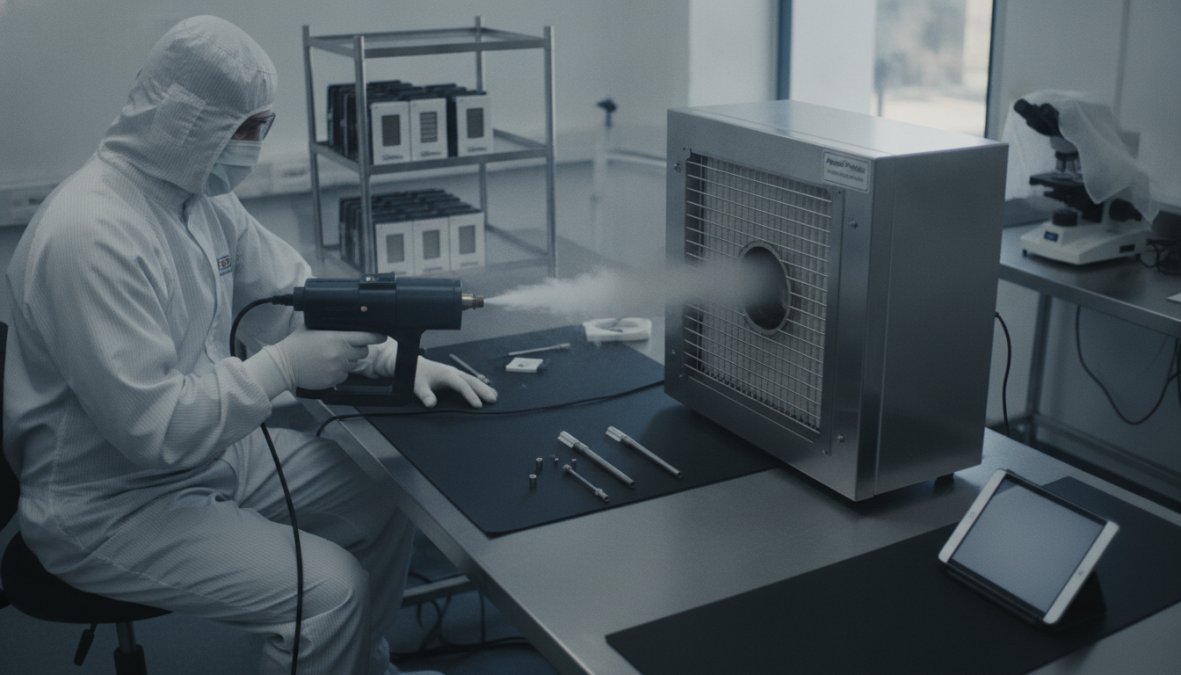
Validating cleanroom airflow is non-negotiable for regulatory compliance and product safety, yet many facilities struggle with inconsistent smoke study results. Applied Physics provides the aerosol generators and technical guidance that transform smoke testing from a compliance checkbox into actionable validation data. Our Aerosol Generator-Cold Type BAG-4B and BAG-6D systems deliver consistent, neutral aerosols that reveal true airflow patterns without introducing heat or residue. Get started with Applied Physics and eliminate guesswork from your cleanroom validation program.
Related Resources:
Smoke studies visualize airflow patterns to verify unidirectional airflow, identify dead zones, and confirm laminar flow integrity in cleanroom environments. They validate that critical zones receive proper first air coverage and detect airflow disruptions that could compromise sterility assurance. Smoke testing documents compliance with USP 797, ISO 14644, and cGMP requirements for aseptic processing and pharmaceutical manufacturing.
Essential equipment includes a smoke generator (cold or ultrasonic aerosol generator), high-definition video camera, lighting system, tripod, and vapor source material. Applied Physics offers the Aerosol Generator-Cold Type BAG-4B and BAG-6D, which feature Laskin nozzles for consistent smoke generation. You'll also need documentation tools, air velocity measurement devices, and recovery time monitoring equipment to complete a comprehensive smoke testing protocol.
Smoke testing visualizes actual airflow patterns using visible vapor to assess unidirectional airflow and detect turbulence, making it a validation protocol for environmental monitoring. Sanity testing is a quick functional check to verify basic system operation before full validation. Smoke studies provide detailed airflow mapping and acceptance criteria documentation required for regulatory inspection, while sanity testing is preliminary screening that confirms equipment functions before comprehensive smoke testing begins.
Acceptance criteria include consistent unidirectional airflow without visible turbulence, proper recovery time after disruption, no visible dead zones in critical areas, and smoke patterns showing first air reaching work surfaces. Air velocity must meet ISO 14644 and USP 797 standards. Documentation must show video evidence of laminar flow maintenance, air exchange rates within specification, and HEPA filter integrity. Failed studies require root cause analysis and corrective actions before revalidation.
This article was written using GrandRanker

Enter your details below to save your shopping cart for later. And, who knows, maybe we will even send you a sweet discount code :)
Allow notifications to get real-time updates about your shopping cart and who knows, you may even receive a sweet discount code 😊