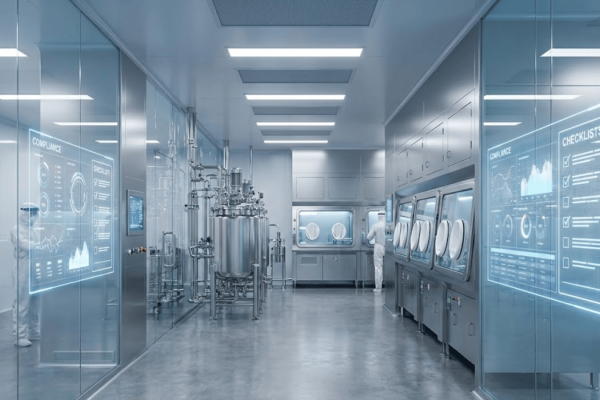
Visualizing airflow is a critical requirement for maintaining the integrity of any controlled environment.
While sensors and monitors provide data, a smoke study or airflow visualization offers the only physical proof of how air actually moves around equipment, personnel, and work surfaces.
An improperly executed smoke study can lead to regulatory observations or, worse, undetected contamination risks.
This protocol provides a structured framework to train your team on performing professional, repeatable, and compliant airflow visualizations.
Before any fogging begins, the environment must be stabilized. A common mistake is starting a study in a room whose pressure hasn’t reached a steady state.
The goal is to demonstrate laminar (unidirectional) flow and ensure that turbulent air is not lingering over critical work zones.
Instruct the team to start the fog at the HEPA filter face.
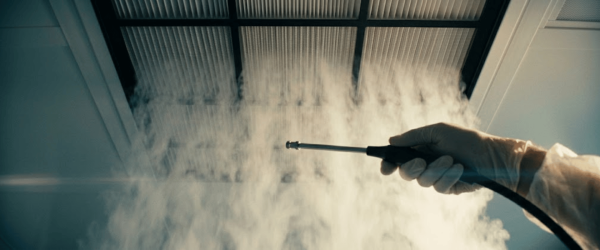
This confirms that the air leaving the filter is clean and moving in the intended direction before it hits any obstructions.
Move the fog source toward benches, microscopes, or filling machines.
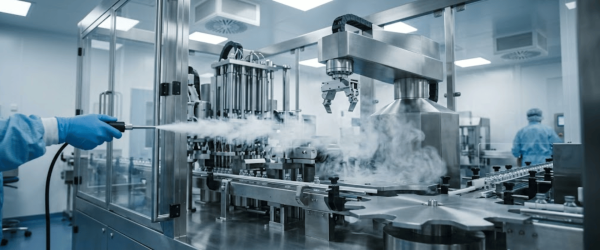
The team should look for dead zones where the fog swirls or stands still. These areas represent potential pockets of contamination.
A smoke study is not complete without human interaction. Train staff to move through the space or reach into hoods while the fog is active.
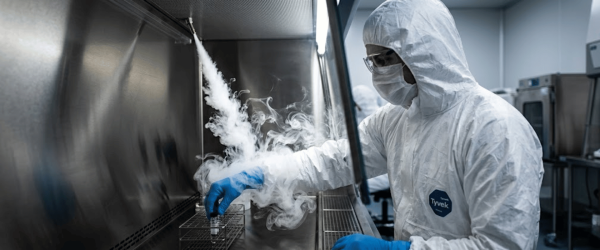
This demonstrates how personnel-induced turbulence might pull contaminated air from the floor or dirty zones into clean zones.
Briefly crack a door or pass-through to visualize air moving from high-pressure areas to low-pressure areas.
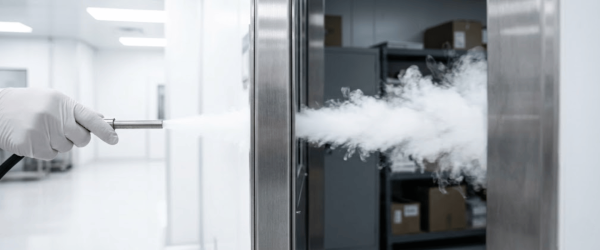
This confirms that your cleanroom envelope is intact.
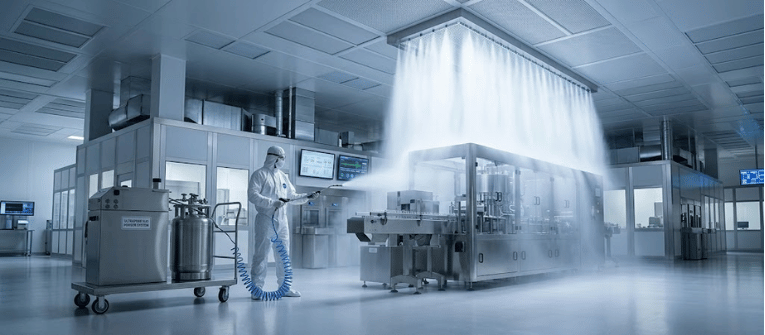
The success of a smoke study depends entirely on the quality of the smoke (fog) used. Training should begin with an understanding of why specific equipment is chosen for different grades of cleanrooms.
For ISO 5 or Grade A spaces, training must emphasize the use of ultrapure water (DI water) or liquid nitrogen foggers.
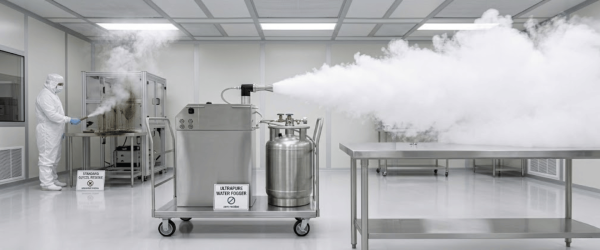
Unlike glycol-based smoke sticks, these tools leave zero residues and produce a high-density fog that mimics air movement without adding weight or contamination.
Ensure your team knows how to use various attachments.
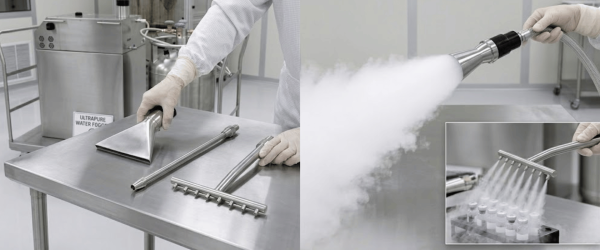
Wide-stream nozzles are best for general room airflow, while rake probes or restrictive wands are necessary for visualizing air around delicate equipment or inside laminar flow hoods.
The final report is only as good as the visual evidence. Capturing high-quality video is often the most difficult part of the training.
A smoke study is more than just a regulatory check-box; it is a diagnostic tool.
By training your team to follow a standardized protocol, you ensure that every visualization provides actionable insights.
When your staff can identify a dead zone or a reflux during a routine study, they can make the necessary adjustments to equipment placement or SOPs before a contamination event occurs.
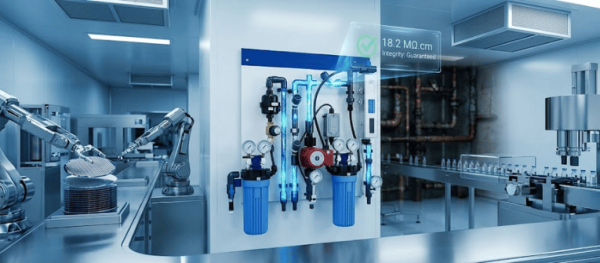
It ensures zero residue or chemical contamination, maintaining the integrity of ISO-classified environments while providing high-density fog for clear visualization.
Static studies test the room at rest to check baseline airflow, while dynamic studies visualize air movement during actual personnel activity and equipment operation.
Studies are typically required during initial qualification, after any significant equipment or HVAC changes, and as part of periodic recertification every 6 to 12 months.
High-intensity LED light curtains or specialized laser sheets are ideal, as they create the sharp contrast needed to capture thin fog patterns on camera.
Reflux occurs when air flows backward toward the HEPA filter or source, indicating a significant turbulence issue that could potentially trap and circulate contaminants.